In our quest to stuff our first family ham, we turned to the recipe that was transcribed by my Mom from my great-grandmother (Nanny). Nanny's recipe is the traditional "North County" recipe. If you didn't catch my last post about the story of this coveted ham, check it out! It'll fill you on in the kale vs. cabbage debate.
Here is the recipe we based our ham on:
Ingredients:

10-12lbs ham that has been cured (aka corned ham)
3lbs kale (chopped fine)
2 heads of cabbage (chopped fine)
10 onions (chopped)
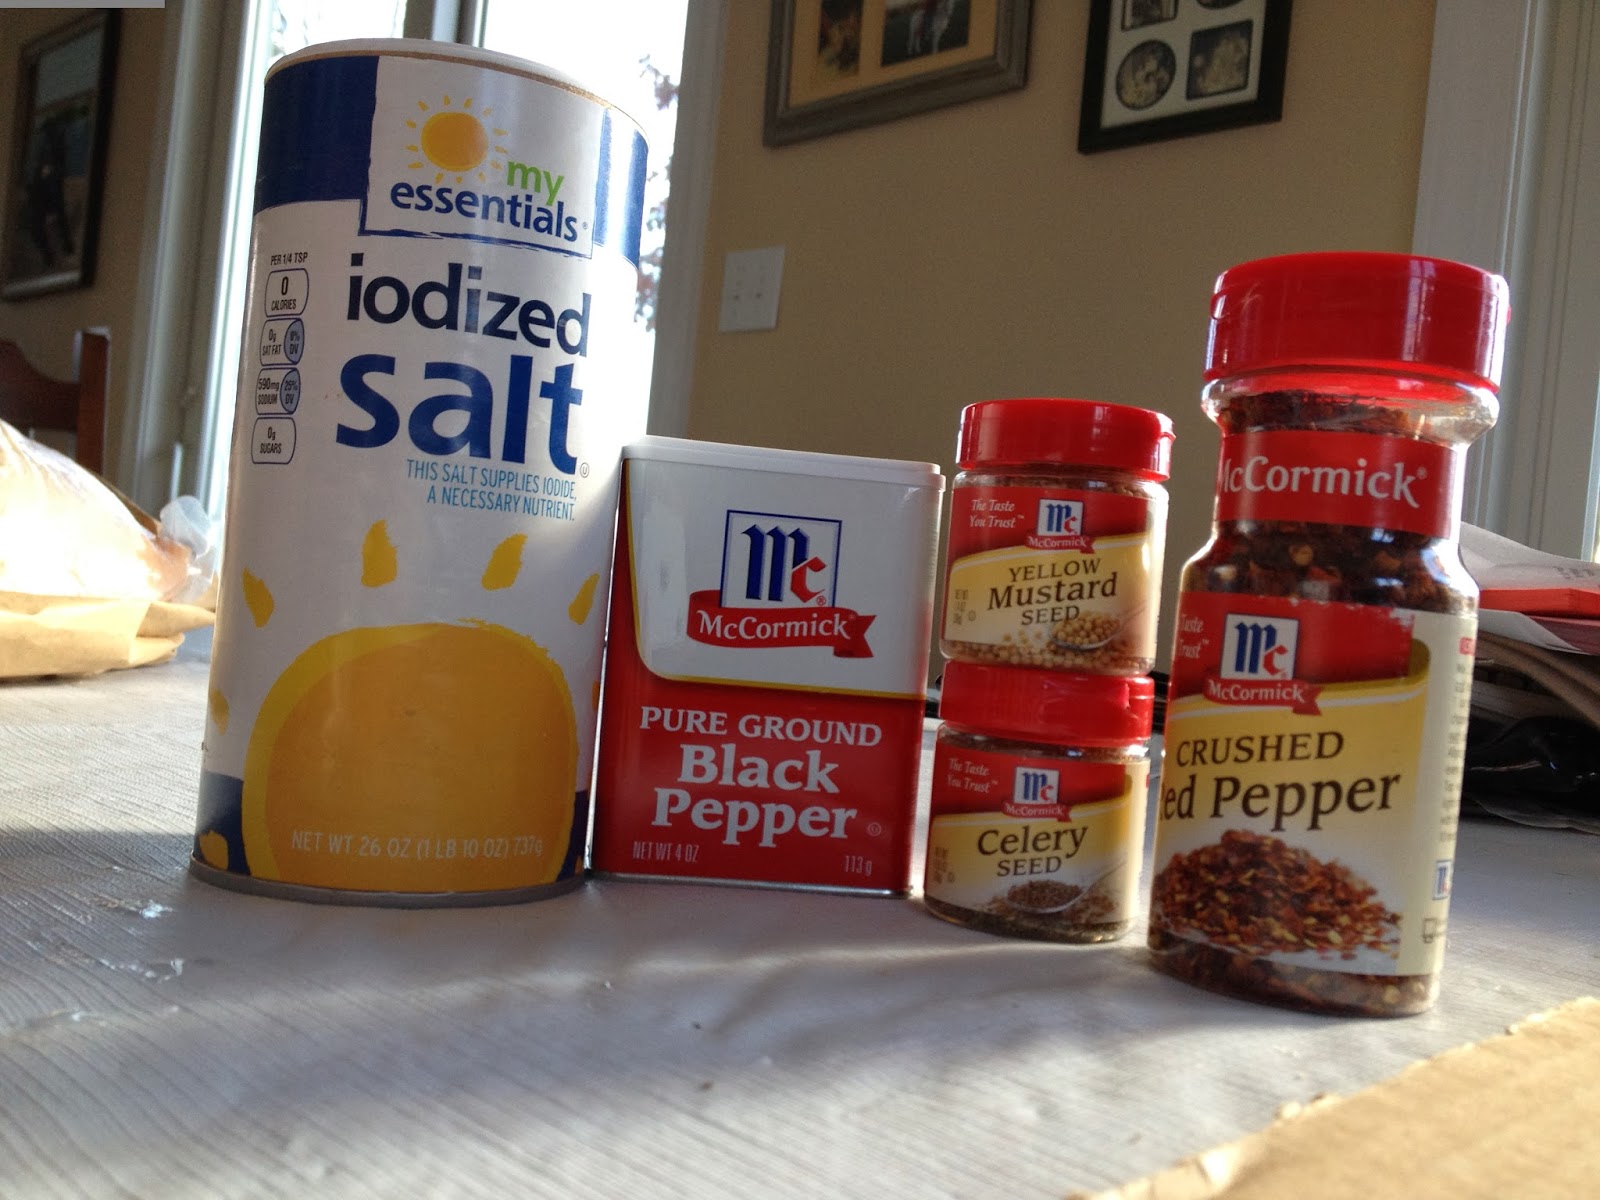
3 tbls salt
2 tbls red pepper
1 tbls black peppers
2 tbls celery seed
1 small jar of mustard seed
The REAL Recipe we ended up using:
23lb ham that has been cured (aka corned ham)
5lbs kale (chopped fine)
2 heads of cabbage (chopped fine)
3lbs of yellow onions (chopped)
4 tbls salt
5 tbls red pepper
3 tbls black peppers
2 tbls celery seed
1 small jar of mustard seed
Now check out the play by play of our ham-stuffing adventure!

23 pounds of corned ham heaven!


Step One: The Debone
Using a sharp knife, we began to chisel away at the leg bone until it was completely removed.

This leaves the ham with a large cavity for the savory stuffing!

Step Two: Wash and Prep
We began by washing and de-stemming the kale and rinsing the cabbage. Then, we peeled the 3 pounds of onions and cried our eyes out.

What a beaut!

Step Three: Choppin'
Next, we took small batches of the kale, cabbage and onion mixed and used the grater blade on our food processor to finely chop the mix. Shoutout to the fella that invented the food processor! I can't imagine how people chopped this many greens by hands. And the onions…Oh my!

Precise choppin'

The onion tears begin!

Supplies on deck.
For the stuffing process, we used a vinyl tablecloth, kitchen twine, couple of knives, cheesecloth and an old pillow case.

Begining the mixin'
Step Four: Spicin'
We mixed all the spices together in a dry bowl; this makes it easier to evenly spice the stuffing.

Look at all that spicy goodness!

Step Five: Mixin' It Up
After throwin' together our spice, we decided the best way to get an even mix was to throw it all on the table and mix her real good.

Pre-Spiced Stuffing

We sprinkled the spices and mixed it the good, old fashioned way…. with our hands!

Step Six: Stuffing the legbone cavity
We began by placing the ham on the table, legbone cavity side up and filled the cavity to the brim with our spiced mix.

Action Shot!

Step Seven: Tie up time
After the legbone cavity was packed, we began tying the ham up to close the stuffed cavity.

We were on the struggle bus with the crappy kitchen twine we got from the grocery store.

Step Eight: Flip Her Over
After the cavity got tied off, we flipped the ham over and cut 1" slits in meat to make pockets for the stuffing.

Butcherin'

Step Nine: Stuffin' Her Up
We took small pinches of the stuffing and began shoving it in the holes of the ham. This was innappropritately funny because the stuffing gets really juicy and tryin' to get it stick in the holes takes a lot of intimate contact with the ham.

Gettin' her nice and plump!

Step Ten: Sak it up!
Next, we wrapped the ham in cheesecloth and put it in an old pillowcase to prepare it for the boiling process.

The final tie.
We cooked the ham in a large stainless steel pot over a propane cooker. We normally use the cooker to steam hardcrabs in the summer but it worked perfect to slow boil the ham. After submerging the pillowcased ham in the pot, we cooked it for approximately 8 hours. It was great to have the option to cook ours outside because we didn't stink the house up!
Check out our final product!

it tasted as wonderful as it looks! A lot of work but a fun family activity.
ReplyDelete