Showing posts with label how to. Show all posts

Friday, December 27, 2013

Cookie Showdown

Nestle Toll House Recipe vs Crisco Recipe

This holiday season I pitted America's most popular chocolate chip cookie recipes against one another: the coveted Nestle Toll House and Crisco recipes. I've never met a cookie I didn't like so this was a daunting task... read on to see what I've determined in this sweet showdown. 


Displaying photo 2.JPG

Nestle Toll House Chocolate Chip Recipe:

2 1/4 cups all-purpose flour
1 teaspoon baking soda
1 teaspoon salt
1 cup (2 sticks) butter, softened
3/4 cup granulated sugar
3/4 cup packed brown sugar
1 teaspoon vanilla extract
2 large eggs
2 cups (12-oz. pkg.) NESTLÉ® TOLL HOUSE® Semi-Sweet Chocolate
1 cup chopped nuts

Crisco Ultimate Chocolate Chip Cookie Recipe:


3/4 stick Crisco® Baking Sticks Butter Flavor All-Vegetable Shortening
1 1/4 cups firmly packed light brown sugar
2 tablespoons milk
1 tablespoon vanilla extract
1 large egg
1 3/4 cups Pillsbury BEST® All Purpose Flour
1 teaspoon salt
3/4 teaspoon baking soda
1 (6 oz.) package semi-sweet chocolate chips (1 cup)
1 cup coarsely chopped pecans (optional)


The End Result

Displaying photo 1.JPG
Is there such a thing as a bad chocolate chip cookie? I think not... But in the context of really looking at which of these classic recipes trumps the other, there are a few things that must be taken into consideration. 

First, the winning recipe is based on personal preference. There are two different types of cookies here; the Nestle recipe produces a cakey, fluffy cookie, where as the Crisco cookie is more dense and crispy. This preference is precisely where a winning recipe is determined.


 For me, I have to say the Crisco recipe is a bit better. Why? Well, I'm big on presentation and the Crisco dough is much firmer, therefore, it warrants a perfectly uniform cookie when using a scoop to arrange the dough on a sheet. 


But more so than the perfect appearance, I find the taste of the Crisco dough to be a bit more buttery than the Nestle recipe. The raw Crisco dough tastes better than the Nestle too... That is important! If you don't eat the dough, you're definitely doing it wrong. 


Where the Nestle almost wins though, is in the category of left overs; this recipe stays super soft and chewy for a few days which is fantastic. The Crisco cookies get crisp upon cooling. Once again, it is all a matter of preference! My Mom and I had a great time whipping these two recipes up back to back and taste testing. In the end, Crisco is a winner in my book.


Who takes the gold in your book?


Thursday, November 28, 2013

SoMD Stuffed Ham: The Play-By-Play

In our quest to stuff our first family ham, we turned to the recipe that was transcribed by my Mom from my great-grandmother (Nanny). Nanny's recipe is the traditional "North County" recipe. If you didn't catch my last post about the story of this coveted ham, check it out! It'll fill you on in the kale vs. cabbage debate. 
Here is the recipe we based our ham on: 

Ingredients:

10-12lbs ham that has been cured (aka corned ham)
3lbs kale (chopped fine)
2 heads of cabbage (chopped fine) 
10 onions (chopped)
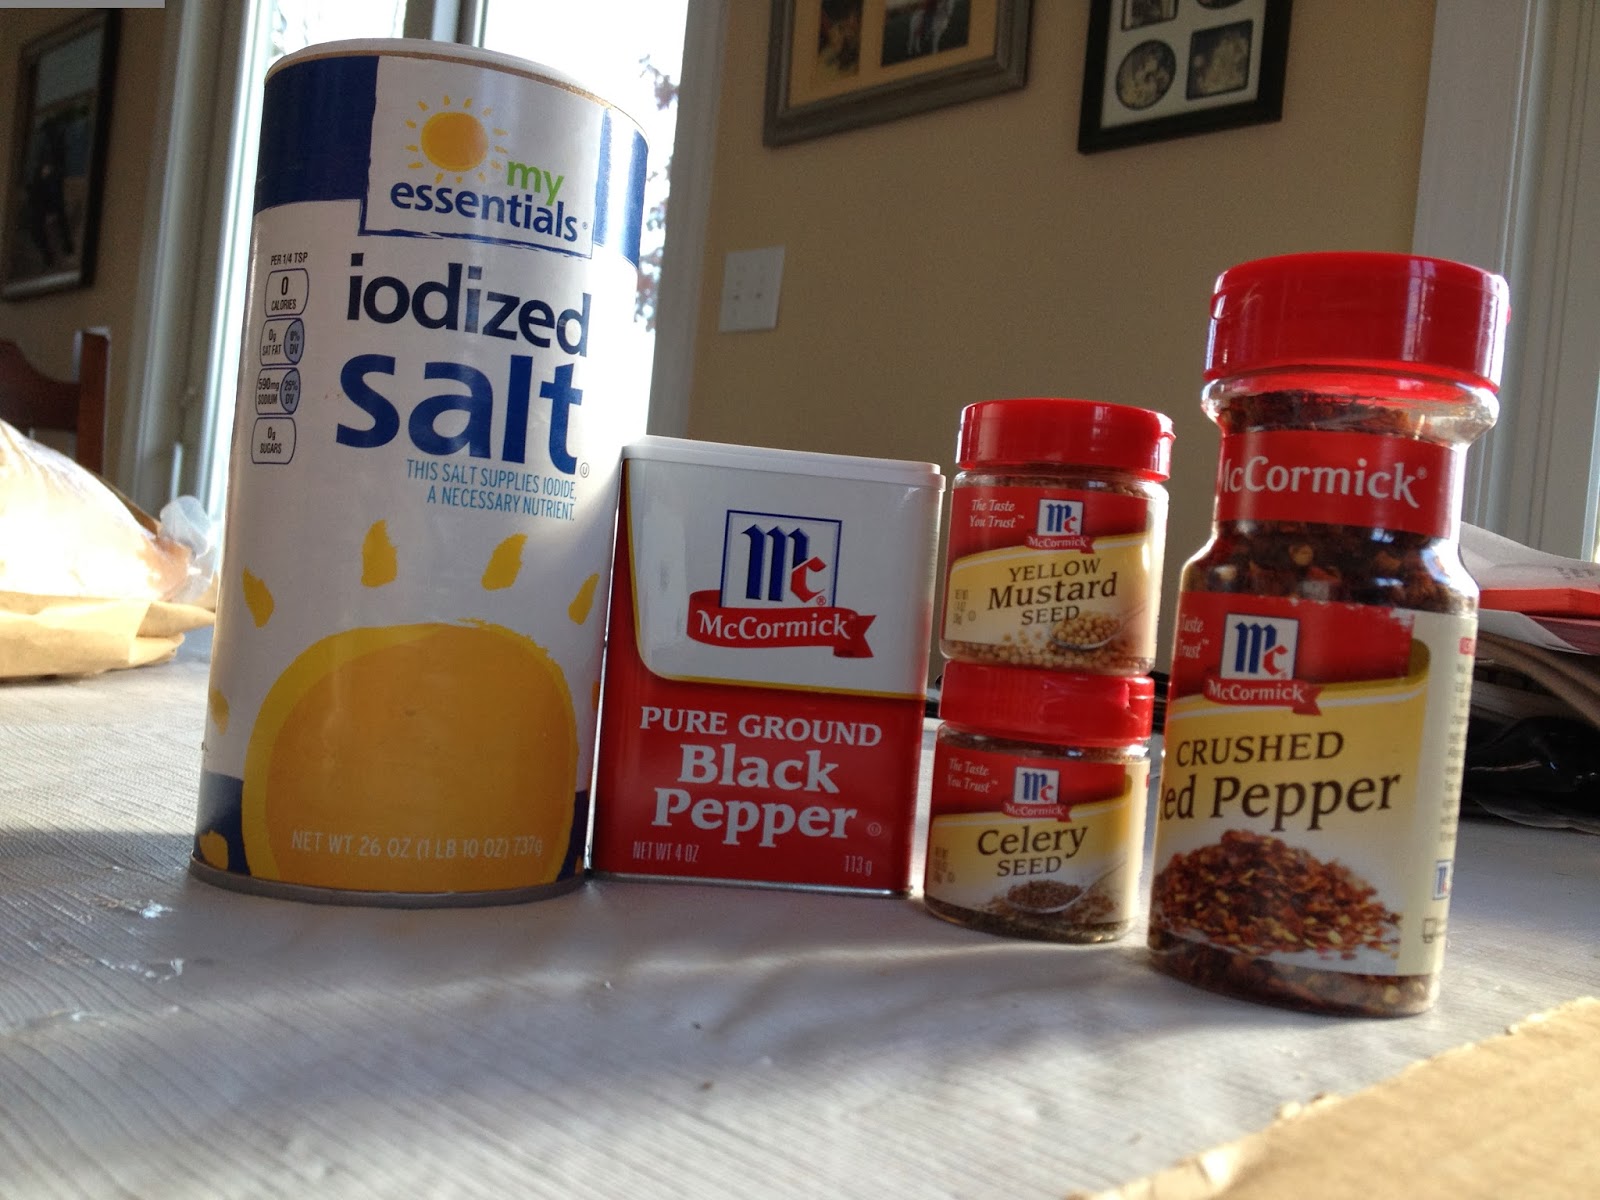
3 tbls salt
2 tbls red pepper
1 tbls black peppers
2 tbls celery seed
1 small jar of mustard seed

The REAL Recipe we ended up using:
23lb ham that has been cured (aka corned ham)
5lbs kale (chopped fine)
2 heads of cabbage (chopped fine) 
3lbs of yellow onions (chopped)
4 tbls salt
5 tbls red pepper
3 tbls black peppers
2 tbls celery seed
1 small jar of mustard seed


Now check out the play by play of our ham-stuffing adventure!


23 pounds of corned ham heaven!


Step One: The Debone
Using a sharp knife, we began to chisel away at the leg bone until it was completely removed.


This leaves the ham with a large cavity for the savory stuffing!


Step Two: Wash and Prep
We began by washing and de-stemming the kale and rinsing the cabbage. Then, we peeled the 3 pounds of onions and cried our eyes out. 


What a beaut!

Step Three: Choppin'
Next, we took small batches of the kale, cabbage and onion mixed and used the grater blade on our food processor to finely chop the mix. Shoutout to the fella that invented the food processor! I can't imagine how people chopped this many greens by hands. And the onions…Oh my!


Precise choppin'


The onion tears begin!


Supplies on deck. 
For the stuffing process, we used a vinyl tablecloth, kitchen twine, couple of knives, cheesecloth and an old pillow case. 


Begining the mixin'


Step Four: Spicin' 
We mixed all the spices together in a dry bowl; this makes it easier to evenly spice the stuffing.


Look at all that spicy goodness!


Step Five: Mixin' It Up
After throwin' together our spice, we decided the best way to get an even mix was to throw it all on the table and mix her real good. 


Pre-Spiced Stuffing


We sprinkled the spices and mixed it the good, old fashioned way…. with our hands!


Step Six: Stuffing the legbone cavity
We began by placing the ham on the table, legbone cavity side up and filled the cavity to the brim with our spiced mix. 


Action Shot!


Step Seven: Tie up time
After the legbone cavity was packed, we began tying the ham up to close the stuffed cavity.


We were on the struggle bus with the crappy kitchen twine we got from the grocery store. 


Step Eight: Flip Her Over
After the cavity got tied off, we flipped the ham over and cut 1" slits in meat to make pockets for the stuffing.


Butcherin'


Step Nine: Stuffin' Her Up
We took small pinches of the stuffing and began shoving it in the holes of the ham. This was innappropritately funny because the stuffing gets really juicy and tryin' to get it stick in the holes takes a  lot of intimate contact with the ham. 


Gettin' her nice and plump!


Step Ten: Sak it up!
Next, we wrapped the ham in cheesecloth and put it in an old pillowcase to prepare it for the boiling process. 


The final tie. 

We cooked the ham in a large stainless steel pot over a propane cooker. We normally use the cooker to steam hardcrabs in the summer but it worked perfect to slow boil the ham. After submerging the pillowcased ham in the pot, we cooked it for approximately 8 hours. It was great to have the option to cook ours outside because we didn't stink the house up! 

Check out our final product! 

Sunday, July 7, 2013

Better Than Sex Cake

I've been hearing some buzz about this infamous "Better Than Sex" cake on some of my favorite foodie websites and I decided to give it a try for one of my friend's graduation parties. This is the tropical version of this recipe but there is also a chocolate recipe which I plan on trying soon. This is a version of "poke" cake so it comes out so insanely moist and delicious. It was definitely a perfect summer cake! 
Note: the name of this cake makes for some very interesting conversation! 

Ingredients:


1 box yellow cake mix (and necessary ingredients)
1 box instant vanilla pudding
1 large can of crushed pineapple 
1 tub cool whip
1 cup shredded sweetened coconut
1/2 cup chopped pecans
1/4 cup of Malibu Coconut Rum
1 cup of sugar
2 cups of cold milk


Directions:


  1. Prepare yellow cake mix as directed using a greased 9" round cake pans or one 13 x 9. The cake should take approximately 30 mins to cook at 350. 
  2. As the cake bakes, pour the pineapple (with juices), Malibu and 1 cup of sugar in a saucepan, and bring to a boil over medium heat. Stir this mixture constantly because it will stick otherwise. Once the mix is brought to a boil, simmer it for approximately 10 mins. Set it aside to cool slightly. 
  3. Remove cake from oven and using a fork, pierce holes into it. Pour pineapple mixture over hot cake and set aside.
  4. Prepare pudding according to package directions. Instant pudding works best with whole milk. Spread pudding over cake and refrigerate until thoroughly chilled.
  5. While your cake is chilling, take 1 cup of shredded coconut and spread it out evenly on a baking sheet. Place it in the oven at 350 degrees for approximately 5 minutes. Be sure to continuously look at and turn the coconut to prevent burning. 
  6. When your cake is cool, use Cool Whip to ice the entirety of the cake. Decorate with toasted coconut and pecan pieces. 


Note: I used sugar free pudding and sugar free cool whip. This recipe could be even further lightened up if you use a reduced sugar cake mix and light style canned pineapple. 

Enjoy!